Understanding Motherboard Diagnostic LED Color Codes
When building or maintaining a PC, understanding the diagnostic LED color codes on the motherboard is crucial for troubleshooting issues. These codes communicate vital information about hardware functionality and potential failures, allowing users to quickly identify and address problems. Many users, especially those new to PC building, may overlook these diagnostic indicators, leading to unnecessary confusion and time lost during troubleshooting. This article will clarify the different LED color codes used by various motherboards, what each color signifies, and how to interpret them during PC failures. By the end, you’ll gain insight into ensuring your system runs smoothly and responding effectively to hardware issues.
How Diagnostic LEDs Work
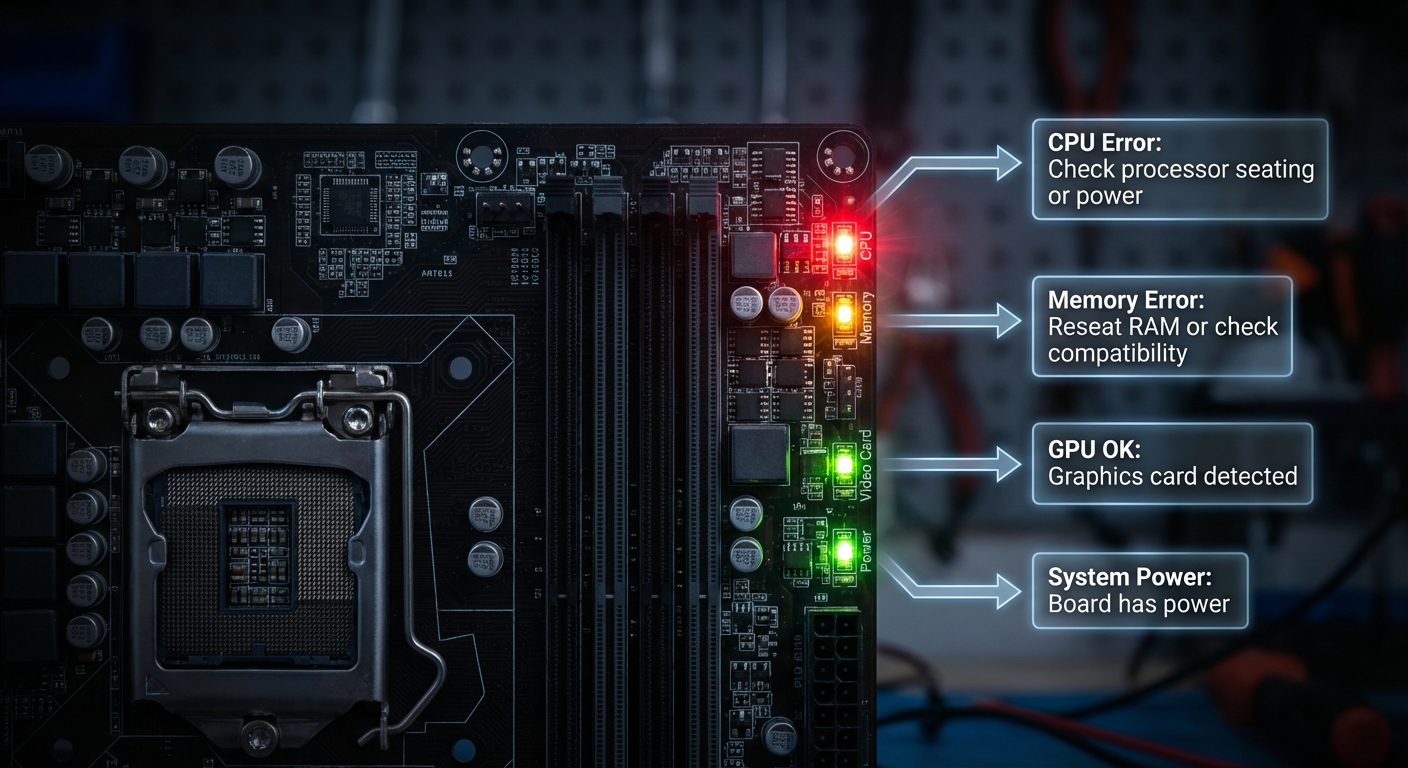
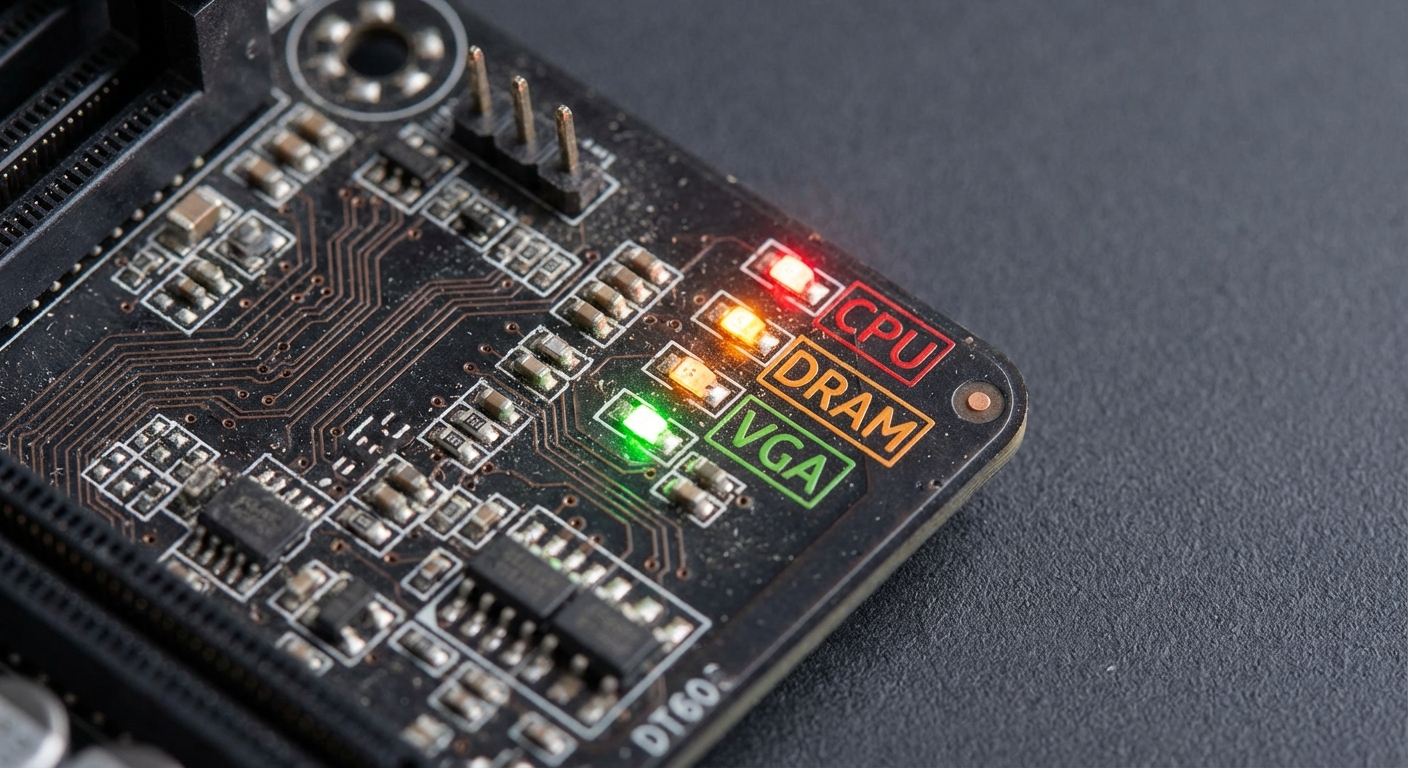
Motherboard diagnostic LEDs are designed to provide immediate feedback about the hardware status of your computer, particularly during the boot process. These LEDs typically illuminate near the CPU, RAM, or GPU and can light up in different colors and blinking patterns, corresponding to specific issues. This functionality is integrated into most modern motherboards, making it a valuable tool for troubleshooting.
Common LED Indicators and Their Meanings
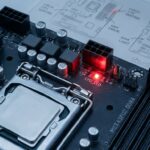
CPU Indicator
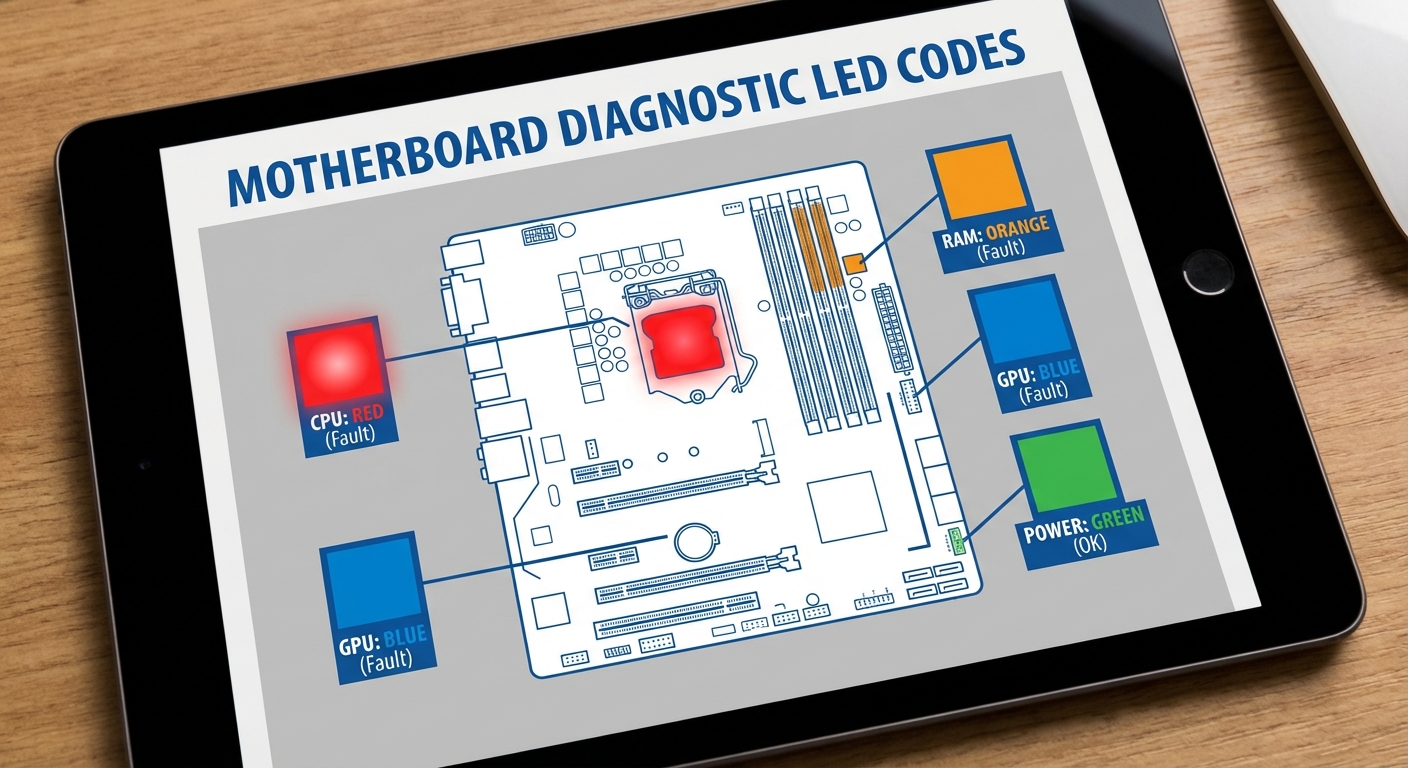
- Color: Red
- Meaning: This light indicates an issue with the CPU. If you see a persistent red light, it’s crucial to check the CPU’s installation, power connections, and compatibility with the motherboard.
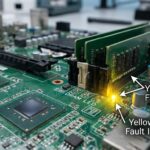
Memory Indicator
- Color: Orange or Yellow
- Meaning: This indicates a problem with the RAM. You should try reseating the memory modules or testing them in different slots to see if the indicator changes.
Video Card Indicator
- Color: Typically Red
- Meaning: A persistent red indicator suggests an issue with the GPU. It’s wise to check the graphics card seating and ensure it has adequate power connections.
Power Indicator
- Color: Varies (typically Green or Blue)
- Meaning: Indicates that the power supply is functioning correctly. A failure could indicate power issues or a faulty power supply.
Interpreting Color Patterns
In addition to solid colors, some motherboards use color patterns to convey more nuanced information. For example:
- Orange followed by Red then White: This pattern may signify a stable state after a failure, indicating the system is attempting to start.
- Flashing LEDs: Often denote hardware checks in progress; refer to the motherboard manual for specifics.
Manufacturer-Specific Color Codes
| Manufacturer | Common Color Codes | Description |
|---|---|---|
| ASUS | Red, Orange, Green | Indicates failures related to CPU, RAM, or GPU respectively. |
| MSI | Red, Blue, Green | Typically similar, with blue indicating power-on status. |
| Dell OptiPlex | Specific codes (e.g., 3-3-4) | Specific codes signify different motherboard issues such as memory or video memory test failures. |
Troubleshooting with LED Indicators
When your PC fails to boot, the LED diagnostic indicators can guide you through troubleshooting:
You may also like


- Identify the LED that is lit. Refer to your motherboard manual or this guide for its meaning.
- For a red CPU LED, double-check CPU power connections and seating.
- If the RAM LED is on, remove and reseat the memory sticks or test with one stick at a time.
- For GPU issues, ensure it is securely connected and receiving power.
- Always consult your motherboard manual for additional codes and troubleshooting steps specific to your model.
Common Misconceptions About Diagnostic LEDs
Many new builders assume that if the PC powers on but does not display anything, the issue lies solely with the GPU. However, diagnostic LEDs can pinpoint other hardware failures, specifically involving the CPU and memory. Additionally, some motherboards utilize beep codes in conjunction with LED indicators, further assisting in the diagnostic process.
FAQ
Q: What does a blinking green LED indicate?
A: A blinking green LED typically signifies that the motherboard is receiving power, but there may be issues regarding the hardware initialization process.
Q: Can different motherboards use the same color codes?
A: Yes, different manufacturers may use similar colors for different issues. Always refer to the specific motherboard manual for accurate diagnostics.
Q: How do I reset my motherboard’s diagnostics if I change components?
A: To reset, power down your system and unplug it. You may also need to remove the CMOS battery for a few minutes before reinserting it.
Q: Are LED diagnostic indicators foolproof for troubleshooting?
A: While LED indicators provide valuable clues, they may not cover every potential issue, and it’s advisable to revise component compatibility and connections as well.
Q: Where can I find specific color code information for my motherboard?
A: Refer to the manufacturer’s website or the PCB’s user manual for precise diagnostic LED information.
Conclusion
Understanding motherboard diagnostic LED color codes can save you significant time and frustration when resolving PC issues. By familiarizing yourself with the meanings of different lights and patterns, you can efficiently troubleshoot problems and ensure optimal system performance. For related topics, you might also want to explore guides on BIOS beep codes.
Rotating USB