Understanding DRAM Yellow Light Issues on Motherboards
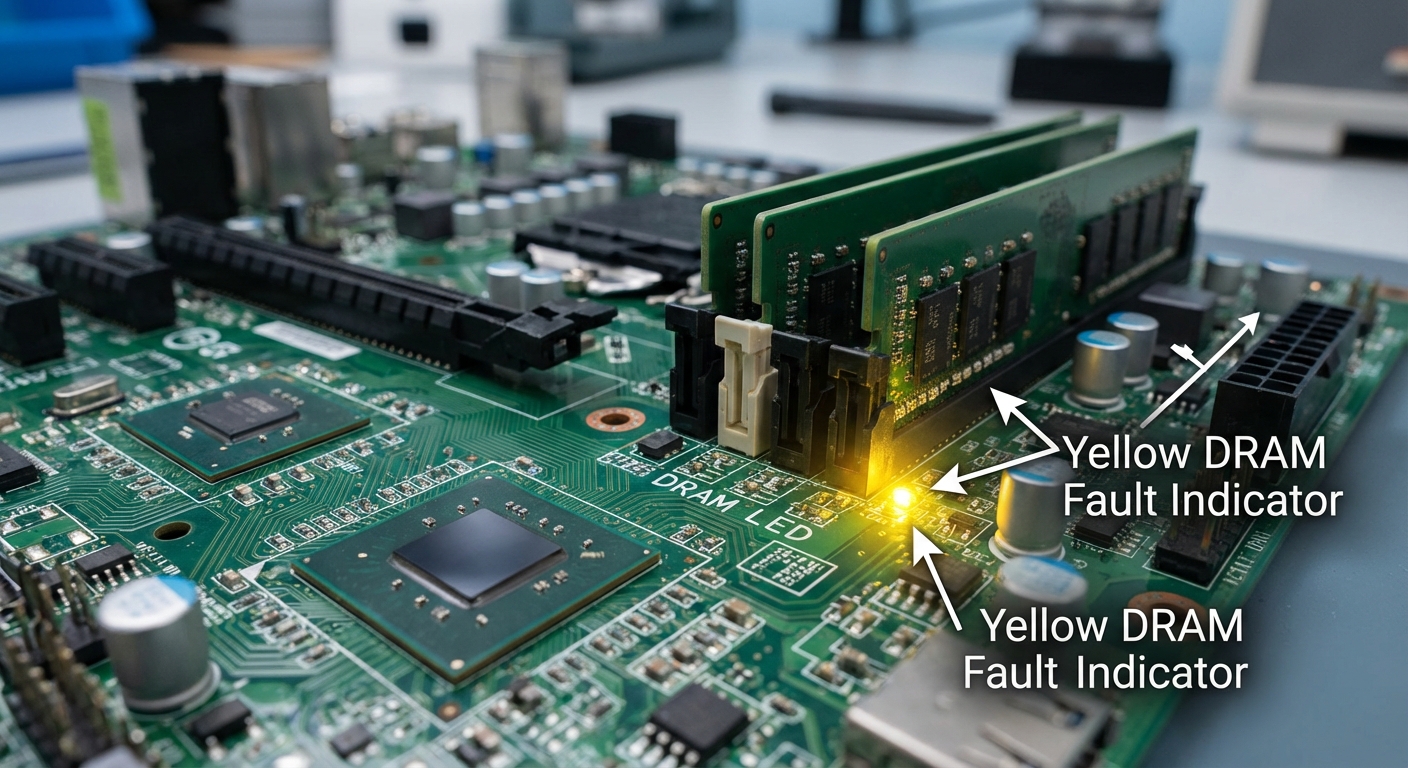
The DRAM yellow light on a motherboard can be a frustrating issue for many PC builders and users. When you power on your system and see a persistent yellow light, it often indicates a problem related to the system’s memory (RAM). This article aims to address the core question: How can you effectively troubleshoot and resolve issues related to the DRAM yellow light on your motherboard?
Understanding why this problem occurs is crucial, as it directly impacts the usability and reliability of your computer system. A common misconception is that the yellow light merely requires the memory to be reseated, but the underlying causes can be multifaceted, including compatibility issues, faulty hardware, or incorrect configurations. Throughout this article, you will learn about the potential causes of this issue, effective troubleshooting steps, and practical solutions to get your PC up and running smoothly.
Common Causes of DRAM Yellow Light
The DRAM yellow light can signify various issues, primarily related to the system’s memory. Understanding these causes will help streamline your troubleshooting efforts.
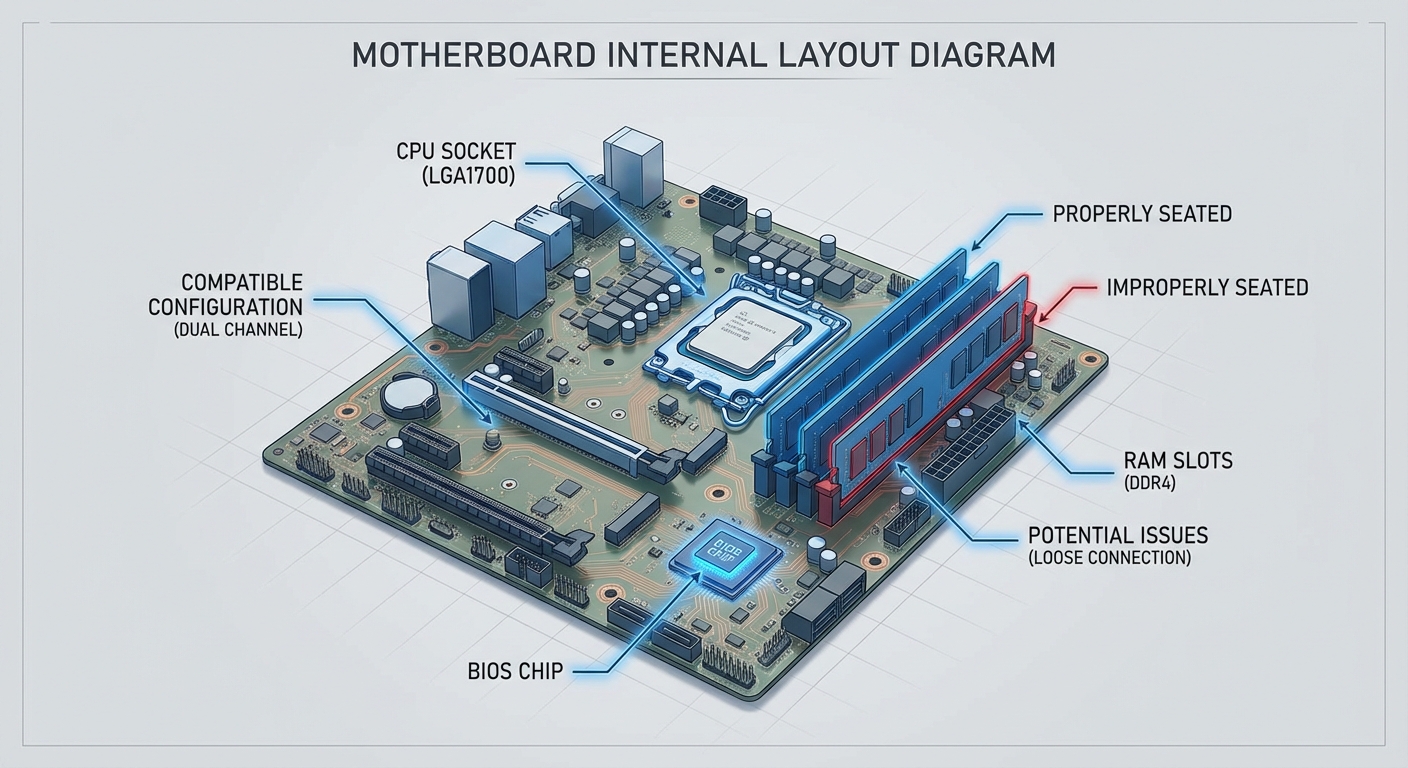
- Improperly Seated RAM: This is often the first thing to check; if the RAM modules are not correctly installed in their slots, the motherboard will not recognize them.
- Incompatible RAM: If the memory modules do not meet the motherboard’s specifications (for example, speed and timings), you may encounter malfunction symptoms.
- Faulty RAM: Defective RAM can lead to failure in booting up and trigger the yellow light indication.
- Motherboard Issues: Problems within the motherboard itself, such as damaged slots or circuitry failures, could also lead to a yellow light indication.
- BIOS Bugs/Updates: Sometimes, BIOS settings need to be adjusted, or the motherboard may require a firmware update to support specific RAM types.
Troubleshooting Steps for Yellow DRAM Light
When faced with a DRAM yellow light, here are systematic steps to diagnose and resolve the problem:
You may also like


- Power Down the System: Always turn off and unplug the power supply before performing any hardware checks or modifications.
- Check RAM Seating: Remove the RAM modules and reseat them, ensuring they are securely placed into the slots. Listen for an audible click when the RAM is properly seated.
- Test with One Module: If you have multiple RAM sticks, try booting the computer with a single stick of RAM. Test each module individually to isolate faulty memory.
- Clear CMOS: Resetting the motherboard’s CMOS can resolve configuration issues. Remove the CMOS battery for a few minutes and then reinsert it.
- Inspect for BIOS Updates: Check the manufacturer’s website for any available BIOS updates that may improve memory compatibility or resolve bugs.
- Examine RAM Compatibility: Ensure that the RAM types match the motherboard specifications, particularly in terms of speed, voltage, and timings.
- Visual Inspection: Look for any visible signs of hardware failure, such as burnt components, damaged connectors, or bent pins.
Manufacturer-Specific Considerations
Different motherboard brands may have unique diagnostic indicators for DRAM issues. Here’s a brief look at common practices by leading manufacturers:
Asus Motherboards
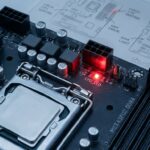
Asus frequently utilizes Q-LED indicators to provide a visual guide during boot-up issues. If the yellow light remains on, it usually suggests a RAM problem. Users are advised to reset the CMOS and ensure cables are correctly attached and modules are seated.
MSI Motherboards
On MSI motherboards, the DRAM yellow light can illuminate due to improper configurations. Users have reported that reseating components and clearing the CMOS resolved issues. Tightening the CPU cooler has also been mentioned as a potential fix, suggesting that the cooler could inhibit proper memory contact.
Gigabyte Motherboards
For Gigabyte motherboards, the firmware can be crucial. Ensuring the BIOS is up to date is vital, and many users have found success by running BIOS recovery systems or reinstalling previous versions.
When to Seek Professional Help
If basic troubleshooting steps do not resolve your DRAM yellow light issue, it may be time to seek professional assistance. Signs that indicate a need for professional help include:
- Consistent failure to boot after trying various RAM sticks.
- Physical damage observed on the motherboard or RAM.
- Inability to access BIOS, despite reseating and resetting configurations.
Frequently Asked Questions
Q: What does a yellow DRAM light indicate?
A: It generally signals an issue related to the system’s memory (RAM), which could be due to improper seating, faulty RAM, or motherboards unable to detect the memory.
Q: What should I do if clearing the CMOS doesn’t work?
A: After clearing the CMOS, ensure that all connections are secure, test the RAM with one module at a time, and verify compatibility with your motherboard.
Q: Can RAM speed affect system boot-up?
A: Yes, if the RAM speed is beyond what the motherboard supports, it can lead to boot failure and trigger warning lights.
Q: Is it possible for a motherboard to be incompatible with RAM?
A: Absolutely. Motherboards have specific requirements regarding the type, speed, and capacity of RAM they support.
Q: When should I consider replacing my RAM or motherboard?
A: If all troubleshooting fails and you continue experiencing issues, it may indicate that either your RAM or motherboard could be defective and require replacement.
Conclusion
The DRAM yellow light on a motherboard is a significant indicator of memory-related issues, and understanding the diagnostics can significantly enhance your troubleshooting process. Key takeaways include checking RAM seating, ensuring compatibility, and utilizing proper troubleshooting methods. For further information on memory issues, you can explore the RAM page on Wikipedia. For manufacturer-specific support, check the relevant support pages from MSI Global Support, Asus Support, or Gigabyte Support.
Rotating USB