
How to Test Ribbon Cable Continuity
Introduction
Ribbon cables, known for their flat and flexible design, are commonly used to connect various components in electronic devices. However, these cables can sometimes develop faults, leading to connectivity issues that can be challenging to diagnose. This article aims to provide a comprehensive guide on how to test ribbon cable continuity, an essential process for troubleshooting any potential wiring problems.
Understanding how to test ribbon cables is crucial for anyone dealing with electronic repairs or installations. Improper connections due to a lack of continuity can result in malfunctioning devices or complete failures. A common misconception is that ribbon cables are highly durable; however, they can fail due to various reasons, including wear and tear, pin damage, and incorrect plugging.
In this article, you’ll learn practical techniques for testing ribbon cable continuity, including using a multimeter and alternative methods to confirm that signals are transmitted correctly across cable connections.
You may also like

Understanding Ribbon Cables
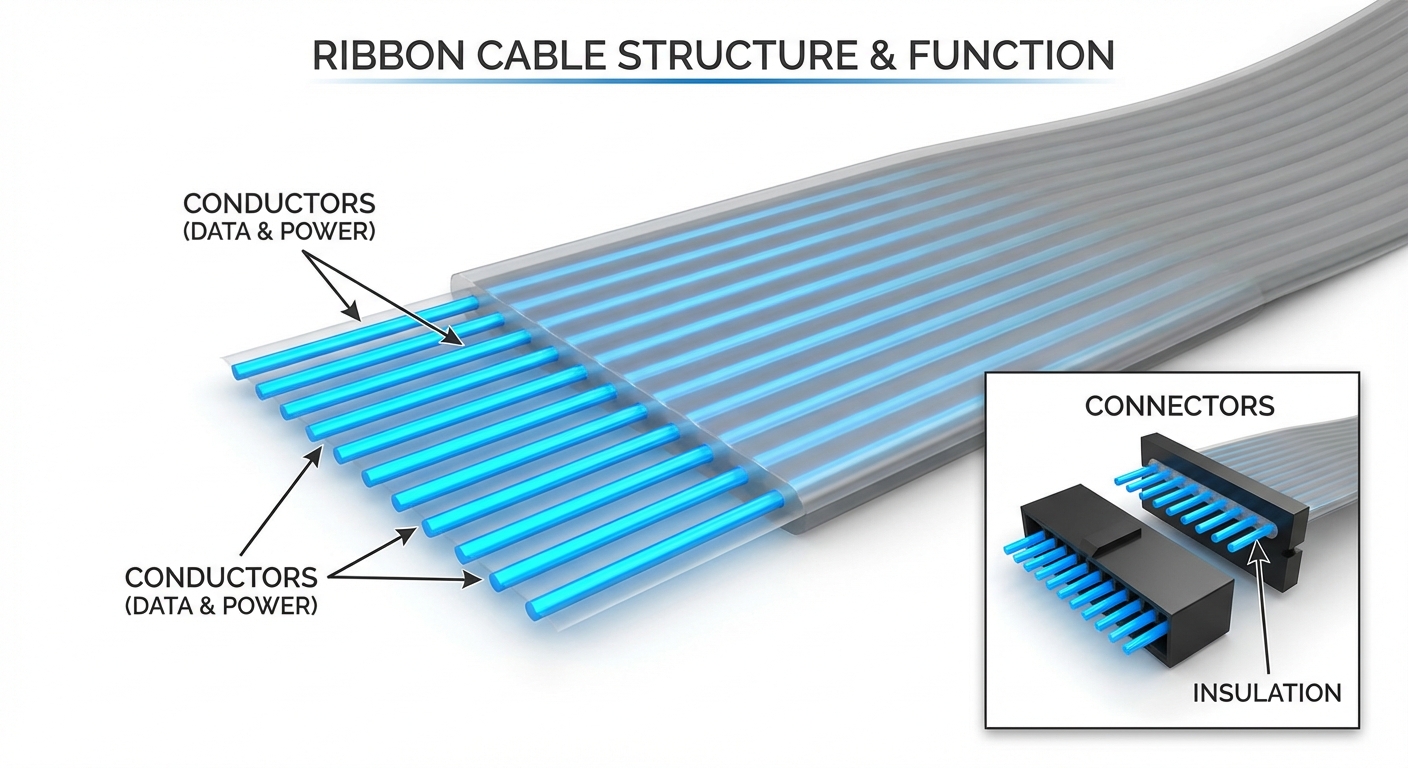
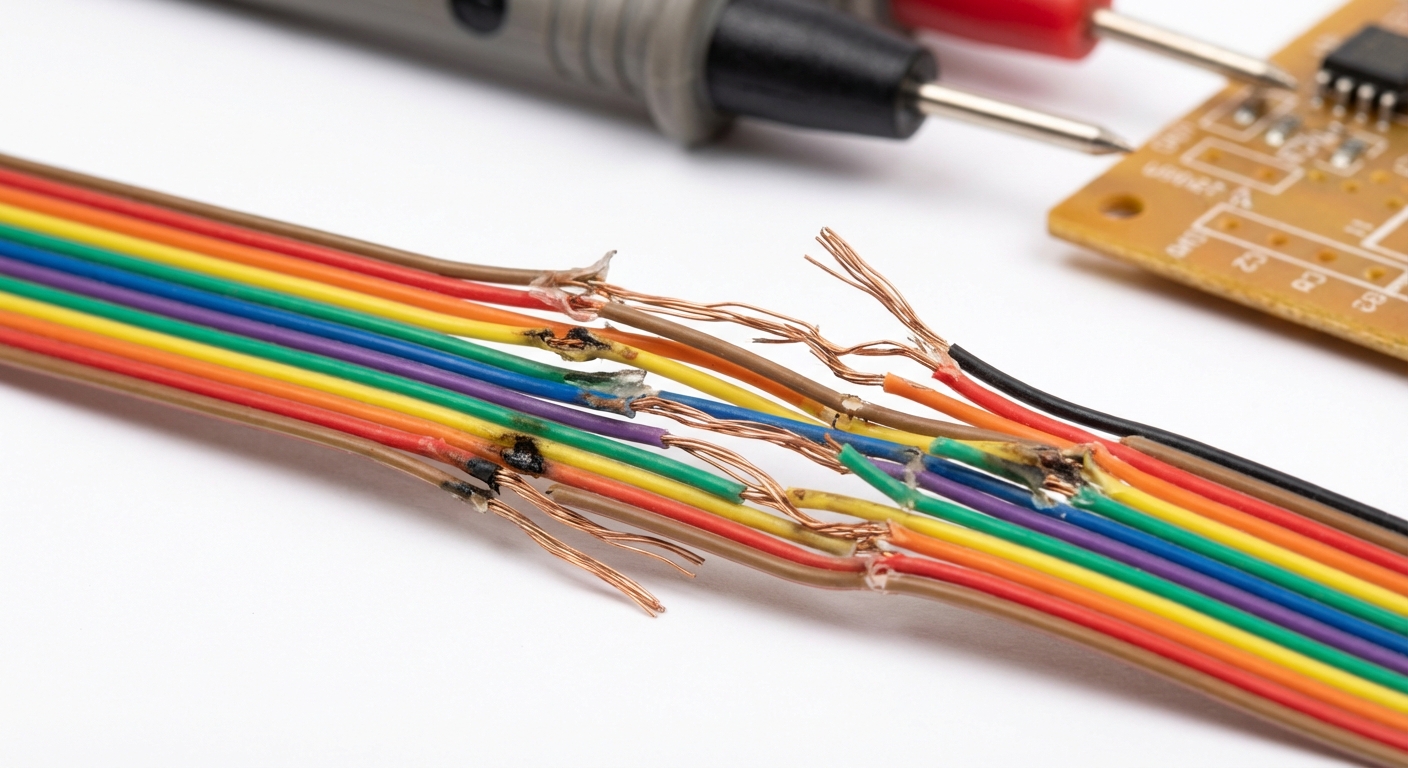
Ribbon cables consist of multiple conductors running parallel to each other. They are used for data and power transmission in a variety of applications, from computer systems to consumer electronics. The cables typically use flat, flexible designs to simplify assembly and reduce space requirements.
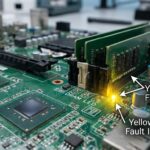
Though they offer numerous advantages, such as ease of installation and lightweight construction, ribbon cables can be susceptible to damage. Understanding the structure of ribbon cables can help in diagnosing continuity issues effectively. Usually, ribbon cables fail due to:
- Mechanical stress or bending
- Poor connections at the connectors
- Internal conductor breakage
- Environmental factors, such as humidity
Testing Ribbon Cable Continuity
There are several methods to test ribbon cable continuity effectively. Each method varies in complexity and the tools required:
1. Using a Multimeter
A multimeter is one of the most reliable instruments for checking continuity. Here’s how to use it:
- Preparation: Make sure the multimeter is set to the continuity setting or the lowest resistance (Ω) setting.
- Access the Contacts: Locate the pin connections at both ends of the ribbon cable.
- Testing: Touch one probe of the multimeter to a contact on one end of the cable and the other probe to the corresponding pin on the opposite end. A beeping sound or a reading close to zero indicates continuity.
This method is effective but may be fiddly due to the close spacing of the pins. Utilizing magnification can aid in clearly seeing and accessing the pins (source: r/techsupport).
2. Visual Inspection and Connection Testing
Before utilizing tools, a good visual inspection should be performed. Look for:
- Physical damage to the cable
- Misaligned connectors
- Corrosion or dirt on the contact pins
After a visual check, you can also confirm connections by employing simple setups. For example, connecting a battery, LED, and a resistor in series, then checking across the ribbon cable connections can verify continuity through a lit LED (source: All About Circuits).
3. Test with External Tools
For more thorough testing, you may utilize testing devices designed explicitly for ribbon cables. These tools offer a more straightforward setup and can perform diagnostics across multiple pin connections simultaneously. You can also consider:
- Using an oscilloscope for signal integrity analysis.
- Employing specialized ribbon cable testers that automatically scan continuity across all connections.
4. DIY Methods for Simple Continuity Tests
If professional tools are unavailable, DIY methods can provide simple solutions. A common approach is:
- Make a simple circuit: Using a small battery, LED, and a resistor, create a circuit that allows for a visual indication of continuity.
- Connect wires: Insert hook-up wires or bent paper clips at each end of the ribbon cable while connecting your circuit to see if the LED lights up.
This method is straightforward and effective for checking basic continuity (source: MOD WIGGLER).
Common Issues and Troubleshooting
Despite the above methods, you might still face challenges when testing ribbon cables. Some common issues include:
- Poor connections: Ensure all connections are snug and secure, as loose ends can yield false readings.
- Multimeter settings: Confirm that you have chosen the correct settings to test continuity effectively.
- Incorrect pin identification: Double-check pin configurations, especially when dealing with multilayer ribbon cables.
Referencing manufacturer guidelines may also alleviate troubleshooting woes. Certain manufacturers provide pinout diagrams that can aid in ensuring correct connections (source: Arduino Forum).
Conclusion
Testing ribbon cable continuity is essential for maintaining the integrity of electronic devices and avoiding frustrating connectivity issues. By understanding the methods available and troubleshooting tips, you’ll be well-equipped to diagnose and remedy wiring problems effectively. Should you encounter related challenges, exploring related topics such as connector testing, signal integrity, and general cable maintenance can further enhance your technical aptitude.
Learn more about ribbon cables on Wikipedia.
Find support from manufacturers like SparkFun.
FAQ
Q1: How do I know if my ribbon cable is faulty?
A: Signs of a faulty ribbon cable may include intermittent connections, device not powering on, or erratic behavior. Testing the continuity can confirm if it’s defective.
Q2: Can I test a ribbon cable without a multimeter?
A: Yes, you can create a simple circuit using LEDs and a battery to check for continuity, depending on whether the cable is intact.
Q3: Why is my multimeter not detecting continuity?
Ensure the multimeter is configured correctly to the continuity setting, and the probes are making good contact with the pins on the ribbon cable.
Q4: Are there specific tools for testing ribbon cables?
Yes, there are dedicated ribbon cable testers that can facilitate more streamlined testing by checking multiple connections at once.
Q5: What should I do if I identify a broken wire in the ribbon cable?
If a broken wire is detected, you can try to repair the cable by soldering the connection, though replacing the cable may be a more reliable solution.